
I was pretty down about the house when I left town for a month (for work) back at the end of March. The insulation project which was supposed to be fast and easy and I was paying someone else to do it turned into a WHOLE THING so I spent most of the last two weeks covered in dust and insulation and sort of half-crouched in the attic and just generally very unhappy. Meanwhile, I wasn’t doing the things I’d wanted to nail before I left: finishing the plaster in the living room and (at long last) wallpapering the dining room. So things were just kind of blech, and I knew I’d come back from this long trip to a musty dusty house, etc. And I did. But! After a couple of days of trying to remember what I was supposed to be doing and what a house even was, things started to really move on Friday. This is mostly down to Nate and Charissa, who came over and really kickstarted the process by sizing the dining room walls (the last pre-wallpaper step) and priming the ceiling and most of the walls in the living room.

I was also finally feeling pretty motivated because Charity’s going to do the floors in these rooms sometime this week (probably) and if I didn’t get going, I was going to be stuck having to tarp the entire freshly done floor in order to do all the painting. So, I gave the primer in the living room overnight to dry, and went for a walk with a friend, and procrastinated some more, but eventually yesterday I sucked it up and painted the living room ceiling. And since I was already kinda messy I thought, I wonder if I can do the wallpaper myself? I’d been low-key trying to talk various people into helping me with it for a while, but it never quite came together, and, well, I wasn’t doing anything else, and I was also really sick of having the boxes sitting around.
It turned out I could, in fact, do it myself!
I’ve never wallpapered anything before, so I wasn’t quite sure how things were going to go. This is about the easiest possible wallpaper could be though. The edges will be covered by molding at both the top and the bottom, so I didn’t have to get those cuts even. And it’s the new-school “paste the wall” wallpaper. Classic wallpaper is made of fibers that expand when you put wet paste on it, which is why you have to be precise in your timing and also make a huge mess on a table. This isn’t quite peel-and-stick vinyl, but it’s made out of a heavy non-woven paper. So you just paint the paste on the wall, using either a roller or a brush, and the timing isn’t anything like as unforgiving. In theory it’s also supposed to be easy to pull off if I decide down the road I want to switch it out. I guess we’ll see about that eventually?

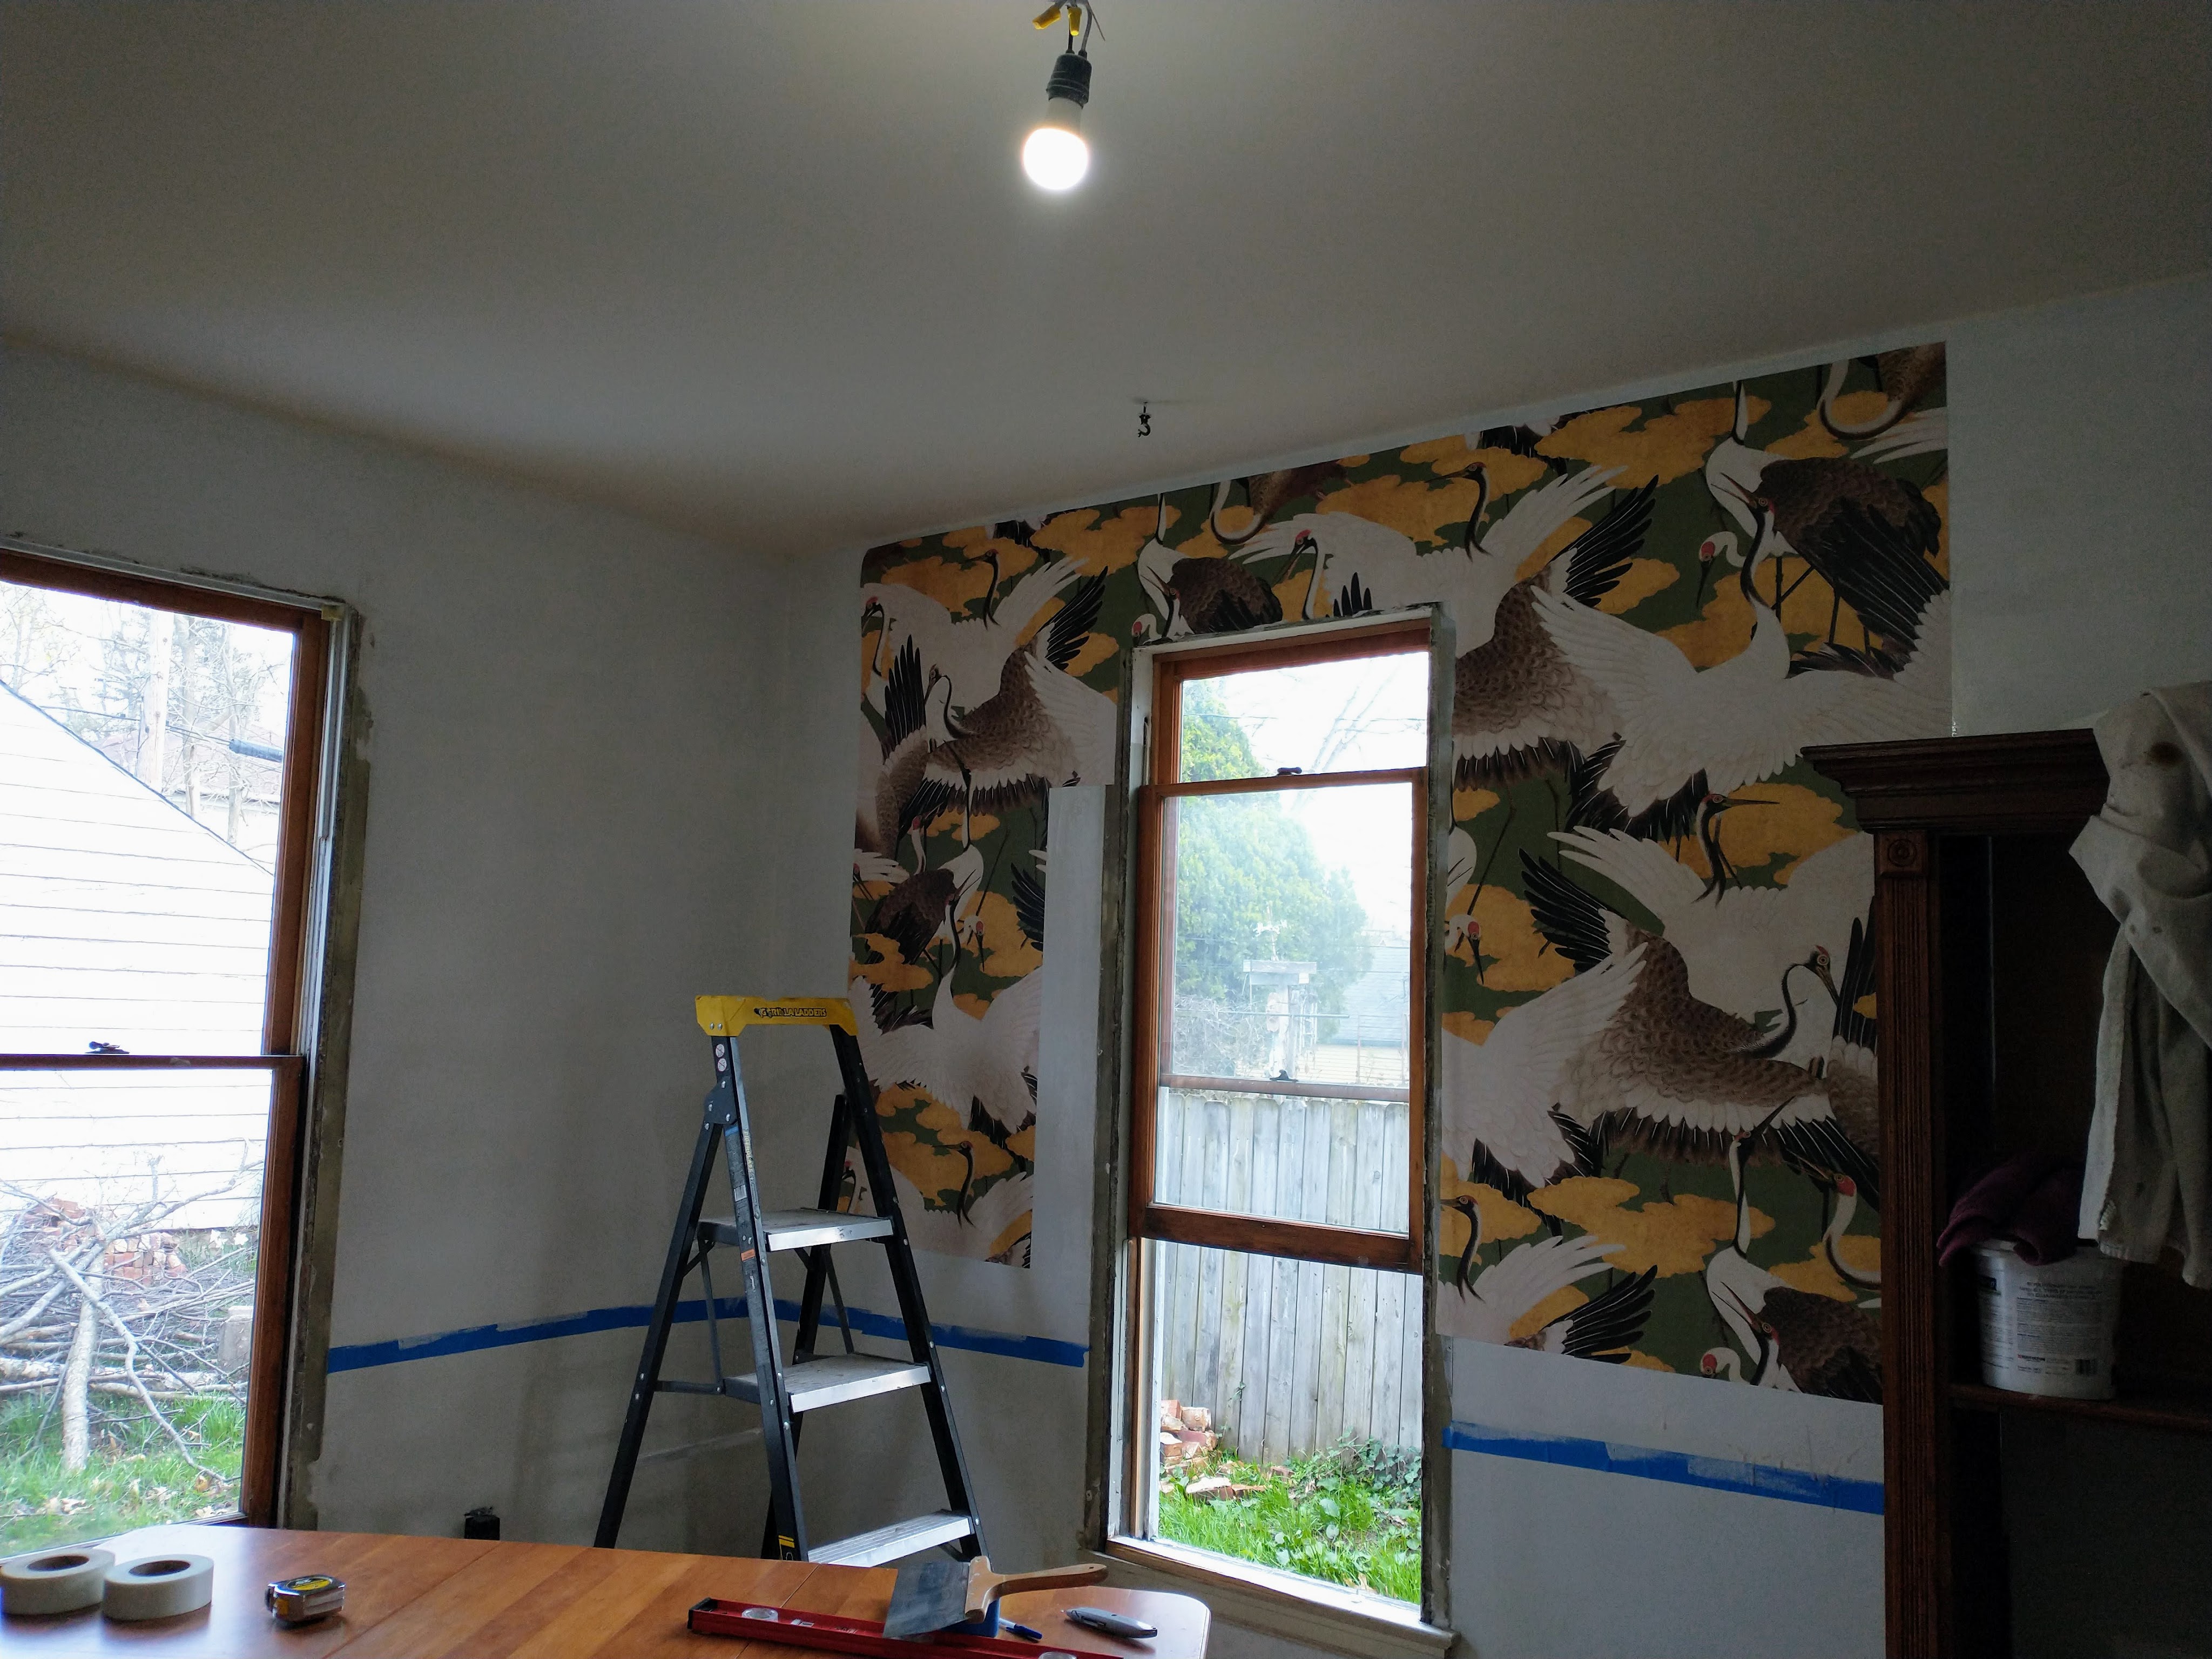
A couple of hours later I was ready to knock off for the night. My process was to use a straightedge to cut on the table, then paste just enough of the wall to hang the new strip (24″ across and about 6′ long), then get it on the wall and smooth it out with whatever worked — my hands, a big drywall knife, a damp paper towel if I needed to get excess paste off, but that also worked pretty well to help smooth. (You can also see how hilariously un-level the walls are if you look at the top! That’s why I have to do molding up there — there was no way to make the wallpaper die into the ceiling, but I can cheat with molding and it won’t be obvious.
I made a reasonable number of dumb mistakes (cutting in the wrong place and having to patch, using too little paste, using too much paste, etc) but overall I was pretty psyched at how well it was going. Off and on I worked on it all day today, too.

By early afternoon, I’d gotten all the way along the long wall and past the kitchen door. At that point things got kind of stressful because I had to deal with not only a wonky, non-plumb inside corner, but then right away I had to get around the old chimney. Luckily, Eric showed up when I was in the middle of the first of these two pieces, and was a huge help in getting it up reasonably straight. It’s not really possible to get it completely perfect due to the wacky nature of the walls, but I think overall it looks pretty good. At this point I realized what I probably should have earlier — that if you have to do either an inside or an outside corner, pre-creasing the paper is a really big help. You can get the crease sharper, but also it makes the paper less prone to weird dragging as you try to navigate the corner.

At this point I did still have to get through another difficult bit — going around the built-in — but I was on the downward slope. A couple hours later (including, ahem, doing the part around the built-in twice because I screwed up the cut so badly the first time), I was totally finished.

I’m really digging the entire thing. It’s actually a two-roll pattern — you alternate A and B rolls — so it’s a full four feet across the wall before the pattern starts to repeat again, and 4.5′ vertically as well. It feels a lot more open than many wallpapers do, as a result. You do waste more paper with such a long vertical repeat, unless your walls are close to the right length, which mine aren’t. I’m giving away all my long offcuts, though, so at least it’ll get used! With so many doors and windows and etc. in the room, I didn’t need an enormous number of rolls even with the long repeat.
Anyway, ending the weekend feeling enormously pleased with myself.

Awe, this is awesome progress. I love this bold wallpaper choice. Does this mean you are going to be just cleaning up the gorgeous wood molding and perhaps adding some to the ceiling?
P.S. Your friends are adorable and it’s so good to have real friends during moments when your spirit is a bit low.
LikeLike
I love it too! I’m sort of a semi-minimalist by nature but this house definitely wants to go big, and who am I to argue? Re: molding, yeah, I have to add trim to the ceiling, or rather, to the top of the wall, enough to cover the ragged edge of the wallpaper strips. Probably about 2″. I don’t really like traditional crown molding so I’m thinking about a flatter profile mounted just below the ceiling line, as in this method: https://www.thegritandpolish.com/blog/diy-the-easiest-way-to-install-crown-molding.
LikeLiked by 1 person